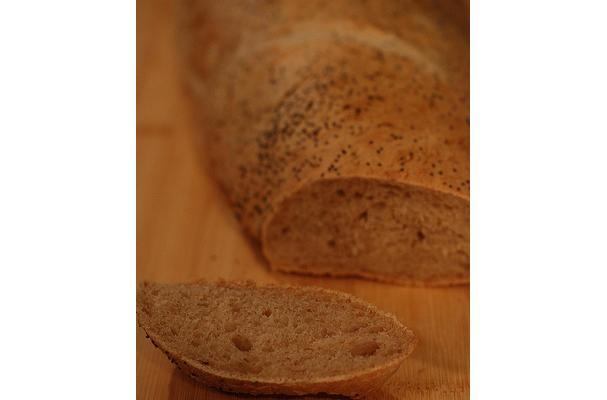
Total Steps
10
Ingredients
7
Tools Needed
1
Ingredients
- 2 teaspoons Yeast
- 1 teaspoon Salt
- 2 tablespoons Sugar
- 1 tablespoon Olive oil
- 3 cups Bread flour
- cups Water
- cups Sourdough starter
Instructions
Step 1
Set <a href="/technique/Z8TD4L63/starter">starter</a> out on counter and bring to room temperature. Feed as you normally do and allow to become foamy and active. This will take 8 to 12 hours.
Step 2
Put all ingredients in the B/M and set on the dough cycle. When the cycle is complete, remove dough and <a href="/technique/KVDHNZ86/squeeze">squeeze</a> out gases. Cover with a damp towel and let it rest for 20 or 30 minutes. (This rest period makes the dough more pliable.)
Step 3
Sprinkle corn meal on a board and shape dough into two cylindrical loaves.
Step 4
Place loaves on a cornmeal covered <a href="/technique/RNT367Z2/baking">baking</a> sheet or in a special "baguette pan" that <a href="/technique/TPWNYF5L/can">can</a> be purchased at a kitchen <a href="/technique/36R8LV5G/store">store.</a> Cover again with the damp towel and put in the refer for 12 to 24 hours. Take dough out of the refer, sprinkle with water, and let it sit out until the loaves are fully risen.
Step 5
(They will usually rise a little in the refer, too.)
Step 6
Spray again with water then <a href="/technique/RNT367Z2/bake">bake</a> at 375 for 30 minutes or until <a href="/technique/D434P8MH/brown">brown</a> and crusty. If you want a really crusty <a href="/technique/482ZKJDV/bread">bread</a>, spray the loaf with water every five minutes while <a href="/technique/RNT367Z2/baking">baking.</a> This harder to describe than it is to do ... and the results are worth it!
Step 7
PLEASE
Step 8
NOTE: Depending on the temperature, humidity, and the whim of the <a href="/technique/Z8TD4L63/starter">starter</a>, the <a href="/technique/482ZKJDV/bread">bread</a> will vary from batch to batch. Sometimes it is very <a href="/technique/3JV6BKBV/sour">sour</a> and dense while other times it is mildly <a href="/technique/3JV6BKBV/sour">sour</a> and fluffy inside. Each batch is unique...but it is always good. I found that using the special pan helped the baguettes keep their shape. The pan is well worth the fifteen bucks.
Step 9
You <a href="/technique/TPWNYF5L/can">can</a> also vary the <a href="/technique/PMQVQDJ8/flavor">flavor</a> of the <a href="/technique/482ZKJDV/bread">bread</a> by using more or less sugar or by <a href="/technique/W5QQLYTM/substituting">substituting</a> 1 TBL of vinegar for 1 TBL of water. Another variation is to use flat beer instead of water in either the recipe or when feeding the <a href="/technique/Z8TD4L63/starter">starter.</a> (Be sure to <a href="/technique/WRFN6T6X/separate">separate</a> your <a href="/technique/Z8TD4L63/starter">starter</a> into two batches first so that you do not contaminate the orignal pot.)
Step 10
Everytime I share this recipe, I get notes saying this is the <a href="/technique/3CYMY2D7/beat">beat</a> sourdough ever!