Total Steps
24
Ingredients
15
Tools Needed
9
Related Article
http://myculinarycanvas.com/?p=342Ingredients
- 2 1/2 cups all-purpose flour
- 2 tablets fresh yeast (or 10g instant dry yeast)
- 1/2 cup warm milk
- 1/2 cup warm water
- 1 cup sugar
- 1 tablespoon sugar
- 1 count egg
- 1/2 cup vegetable oil (sunflower, corn, etc.)
- 1 count egg yolk
- 1 tablespoon vanilla extract (or half vanilla bean)
- 200 ml dulce de leche
- 1 pinch ground cinnamon
- 1 teaspoon salt
- nuts, chestnuts, and dried fruits for decoration(optional)
- 50 grams chestnut flour(optional)
Instructions
Step 1
Combine warm water, warm milk, 1 tablespoon of sugar, and yeast in a mixing bowl. Stir with a spoon until the yeast dissolves. Reserve this mixture. Ensure water and milk are not too hot (max 40°C) to avoid killing the yeast.
Step 2
In another mixing bowl, combine 2 cups of flour (reserving 1/2 cup for later) and 1 cup of sugar. Make a well in the center of the dry mixture and add the room temperature egg, oil (or softened butter/margarine), vanilla extract, ground cinnamon, and the reserved yeast mixture.
Step 3
Use a fork to gradually mix the wet ingredients in the well, slowly incorporating the flour.
Step 4
Add the salt last, as direct contact with yeast can inhibit its action.
Step 5
Do not overmix if kneading by hand. If using a stand mixer, knead on low speed with a dough hook for a maximum of 5 minutes.
Step 6
While kneading the dough, gradually add the remaining 1/2 cup of flour.
Step 7
The dough should be smooth. If it's still sticky, continue kneading for a few more minutes instead of adding more flour until it's no longer sticky.
Step 8
Place the dough in a bowl, cover with plastic wrap (or a lid), ensuring the container is large enough to allow the dough to double in size.
Step 9
Let the dough rest for 20 minutes, or until it doubles in size.
Step 10
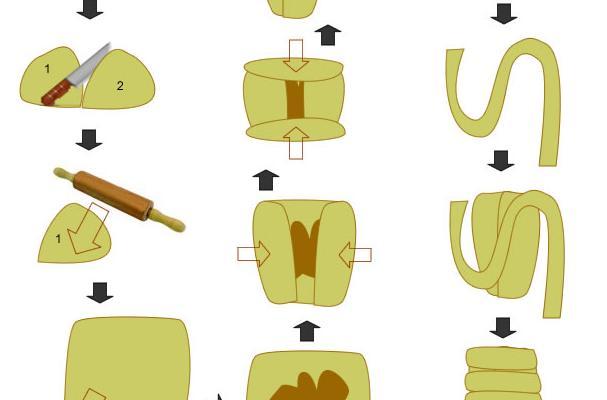
Divide the dough into two equal parts.
Step 11
On a floured surface, roll out one part of the dough with your hands or a rolling pin to a rectangle (or desired shape) about 1/2 cm thick.
Step 12
Spread the dulce de leche over the dough, focusing on the center and avoiding the edges. Ensure the dulce de leche is not cold; if it is, warm it in the microwave for 30 seconds.
Step 13
Roll the dough into a cylinder, enclosing the dulce de leche inside.
Step 14
With the remaining dough, roll it out by hand or with a rolling pin into a strip approximately 3 cm wide and 1/2 cm thick (length as needed).
Step 15
Sprinkle chestnut flour over the strip and press to adhere it to the surface.
Step 16
Wrap this strip of dough around the previously prepared dulce de leche cylinder, covering it completely. If the strip isn't long enough, stretch it further.
Step 17
Place the prepared dough in a baking pan dusted with flour.
Step 18
Brush the top with egg yolk and, if desired, press the optional dried fruits, nuts, and chestnuts onto the surface for decoration.
Step 19
Let it rest for 10 minutes, then place it into a cold oven. Turn on the oven to allow the initial heat to aid in the final proofing and growth of the bread.
Step 20
Bake at a maximum of 160°C (320°F).
Step 21
Bake for 30-40 minutes, or until golden brown. Baking time may vary depending on your oven.
Step 22
Avoid overbaking or using higher temperatures, as this can result in a very hard crust and cause the dulce de leche to boil and leak.
Step 23
The bread should be golden brown and well-risen. After removing from the oven, let it cool for 20 minutes, then dust with sugar (confectioners' sugar for a better finish, if available).
Step 24
Serve with tea, coffee, or hot chocolate.