Total Steps
8
Ingredients
6
Tools Needed
8
Ingredients
- 4 cup seedless <a href="/3K8TXWCG">watermelon</a>
- 0.5 cup <a href="/6H6G87VP">sugar</a>
- 1 juice of <a href="/Y5K7YSXM">lemon</a>
- 0 large glass measuring bowl
- 0 blender or food processor
- 9 inch x 13 baking <a href="/PJPD8B7X">dish</a>
Instructions
Step 1
<a href="/XZBDDD5G">Cut </a>in half and quarter a small watermelon. <a href="/G463W56J">Scoop </a>the watermelon from each quarter with an <a href="/RP8LCDPZ">ice </a><a href="/R3P5MM3Z">cream </a><a href="/G463W56J">scoop </a>into a large glass <a href="/PPPKH5Q4">measuring </a>bowl until you have 4 cups. If you don't have a large glass <a href="/PPPKH5Q4">measuring </a>bowl <a href="/G463W56J">scoop </a>melon into a bowl and <a href="/PPPKH5Q4">measure </a>out the correct amount. The glass <a href="/PPPKH5Q4">measuring </a>bowl just makes things easier.
Step 2
Take a <a href="/WDCS6JL5">taste </a>test for sweetness. The sweetness of watermelons varies so much. Adjust the amount of sugar accordingly.
Step 3
<a href="/KVDHNZ86">Squeeze </a>lemon <a href="/QDWRNXYW">juice </a>into <a href="/PPPKH5Q4">measuring </a>bowl with the melon pieces. Sprinkle sugar on <a href="/R34ZSY3M">top </a>and <a href="/7S3QCKWK">mixed </a>to incorporate.
Step 4
Pour the melon mixture into your <a href="/S6W4FR7F">blender </a>or food processor. Pulse to break the pieces up well and then hit the <a href="/HGX4TB7D">puree </a>button if you have one and process the ingredients until all the pieces of melon are completely gone. Your looking for a semi smooth liquid. You will not get a completely smooth liquid because of the texture of the watermelon.
Step 5
Pour into a glass 9 x 13 <a href="/RNT367Z2">baking </a>pan.
Step 6
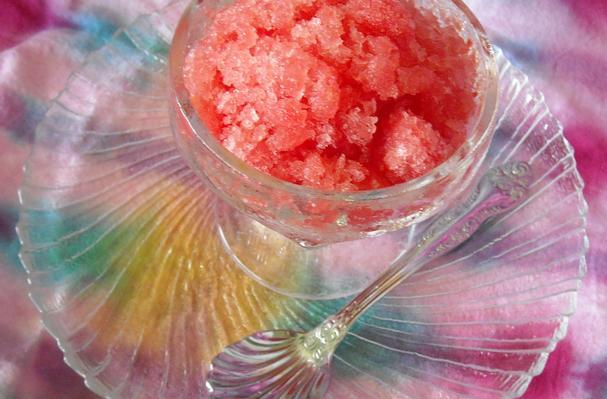
After one hour take the pan out of the freezer and break up the <a href="/RP8LCDPZ">ice </a>crystals with a fork. Run your fork around the inside edges of the pan also to incorporate those <a href="/YCPJKCW5">frozen </a>bits in with the rest of the mixture.
Step 7
Do this two more times after an hour.
Step 8
Once your granita has reached this point put it into an airtight container for easy storage in your <a href="/YCPJKCW5">freeze.</a>