


Growing up, my family put onions in just about everything. It was the flavor base for all our dishes along with garlic and oregano. As a young child, I would sit on the kitchen counter and watch my mother and grandmother cook - always beginning every dish by chopping the onions. Tears would stream down their face and mine as they broke down the bulb. When I started cooking on my own, I was determined to learn a no-cry method for dicing onions.
First and foremost, you will need a sharp knife. Without getting too much into the science of it all, when onions are cut they release a gas that when combined with tears creates a form of sulfuric acid. A sharp knife will help you dice an onion faster and more efficiently, leaving less time for the gas to react with your eyes. Also, you can put the onions in the fridge or freezer before slicing. This step changes the chemistry in the onion and slows down the reaction.
Step 1: Peel off the papery layers before proceding to cut the onion. Trim approximately a 1/2 inch off the end of the onion. This will create a flat surface to help you with the next step.
Step 2: Slice the onion in half, using your free hand to stabilize the onion while you cut. Some of the root should still be attached to both halves of the onion to keep the layers connected. Peel off any remaining unwanted layers.
Step 3: Lay the onion flat and make a series of horizontal cuts to the root end without actually cutting through it. Use your other hand to help keep the onion in place. Remember the thickness of these slices will determine the size of your dice. For a smaller dice, space the slices closer together (about 1/2 inch or smaller). For a larger dice, space the slices farther apart (about 3/4 inch or larger).
Step 4: Make a series of vertical cuts that match your previous horizontal cuts. When cutting, keep your fingers curled to help you guide the knife while also holding the onion still.
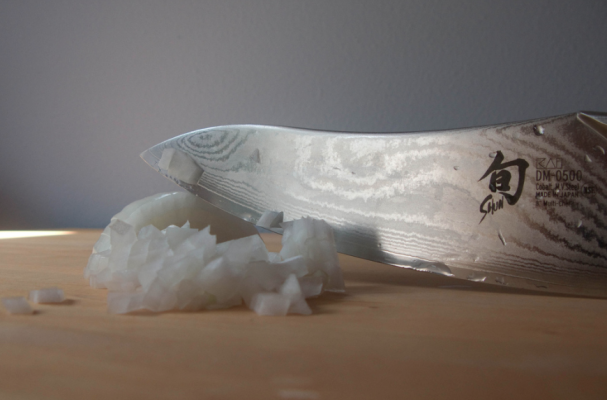
Step 5: To create your dice, make another series of vertical cuts perpendicular to the ones you did in step 4.
Image Sources:


