DIY Herb-Infused Olive Oils
Total Steps
16
Ingredients
3
Tools Needed
10
Related Article
Shiumai EatsIngredients
- 4 1/2 cups olive oil
- dried chilies, seeds, and flakes
- lemons
Instructions
Step 1
Before preparing any ingredients, you’ll need to sterilise your bottles and pourer tops. There are several ways to do this: 1) boiling your bottles in hot water, 2) using the dishwasher on high heat or 3) placing them in the oven. Since the bottles are tall and skinny I chose the oven method. First, heat oven to 225ºF. Then wash the bottles and pourers with soap and hot water. Place the bottles onto cooking paper into the oven to dry for about 20 minutes. For the tops, either let them air dry or use the dishwasher to sterilise them even more. You can’t put these in the oven or into boiling water because the plastic stoppers will met! Leave the bottles in the oven until you’re ready to fill them up.
Step 2
Chilli Oil:
Step 3
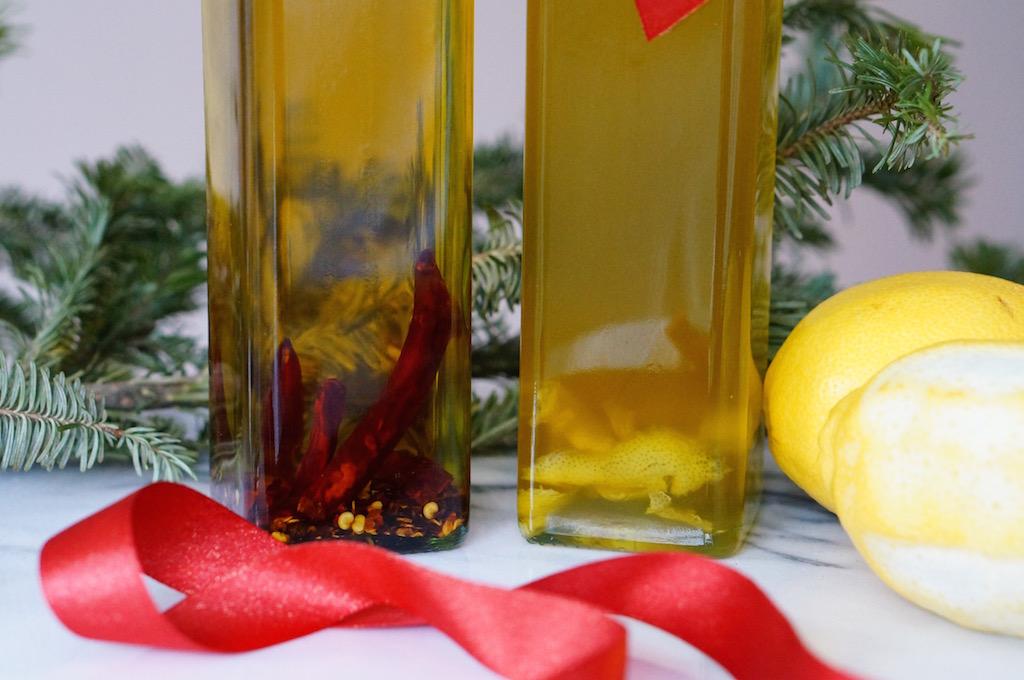
Heat a saucepan on low fire and add the dried chilis, seeds and flakes. Constantly shake the pan to avoid burning the spices. When you start to smell the aroma, it’s time to take it off the fire and transfer to a plate.
Step 4
Add 2 cups of olive oil to the same saucepan on low heat. When little bubbles start forming turn the heat off and set aside to cool.
Step 5
Transfer the chilis to the bottle – you may need a chopstick or stick to help push them in.
Step 6
When the oil is cooled, transfer it to the bottle using the funnel, first pouring in 2 cups and then adding more to fill an inch away from the top. Keep in mind that you’re dealing with chilis here and you want to use separate equipment if you’re preparing another non-spicy oil.
Step 7
Insert the top.
Step 8
Storage – Dry herb oils can generally store longer than fresh ingredients. Store it in a cool, dark place to use within 3 months.
Step 9
Lemon Oil:
Step 10
It’s a good idea to use organic/pesticide-free lemons, especially since the skin is being used and is being stored for several weeks. Wash the lemons and let them air dry completely.
Step 11
Use a small knife to lightly peel the skin away from the surface while omitting the white pith.
Step 12
These peels need to air dry overnight on a paper towel to make sure as little moisture gets exposed to the oil as possible.
Step 13
When they’re ready, transfer the peels into the bottle and pour 2 cups of olive oil in gradually through a funnel.
Step 14
Insert the top.
Step 15
You may notice that the oil starts to become cloudy. This is because the oil isn’t filtered and it’s completely normal due to the home made process. If the oil is clear and begins to cloud up after a few days, it may be a sign that it’s exposed to bacteria and to avoid any risks, it should be thrown out.
Step 16
Storage – store in the fridge and use within 1 month. If you see signs of moulding, it should be thrown out.