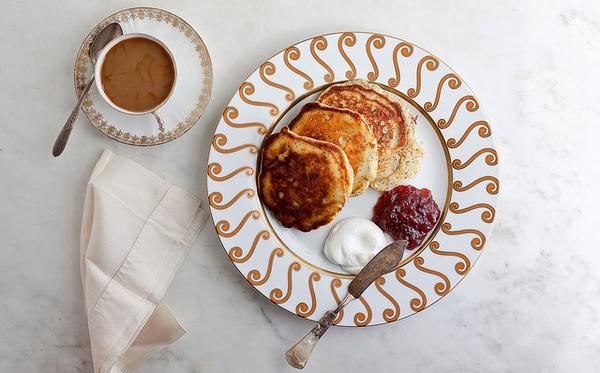
Instagram turns anyone with a phone camera into a photographer. It’s an amazing tool for promoting your brand, developing your personal style, and finding aesthetic inspiration. But for every gorgeous shot, there’s a poorly-framed photo of someone’s less-than-photogenic brunch. Here are my five tips for taking great Instagram shots:
Use the best camera phone you can get. I’ve found that to be either the iPhone5 or Samsung Galaxy S4. The newer your phone, the better your camera. There’s a dramatic difference between even the last generation of iPhones and this generation. I honestly barely carry a point-and-shoot camera because my iPhone 5 camera is just as good.
Do basic touch-ups in another photo app first. I use Camera Plus a lot to play around with filters and textures before I pop my photos on Instagram. I use the clarify filter on Camera Plus more often than not. It basically just oversaturates and sharpens the image in one very stealth swoop, giving it the vibrant pop that I like.
Edit yourself. You don’t need to take 17 shots of the same stack of pancakes; learn to know when you’ve found the right shot. Trust me, it doesn’t take 17 — your golden shot is usually one of the first five.

Format for square. Instagram crops your photos to be in a 1 to 1 ratio square, which is important to keep in mind when framing your shots. I often use Square Ready, another iPhone app, to basically mat my photos so I don’t have to cut out important parts of the original rectangular image.
Develop your own style. Instagram is not about classically beautiful photography all the time, it’s about being playful and stylish, it’s about finding something that’s interesting-looking. I use Instagram to take off my professional hat. I just become another person taking pictures of food, people, and things I find interesting.


